Tag Archives: benjamin moore

Bathroom Reveal

9 Apr

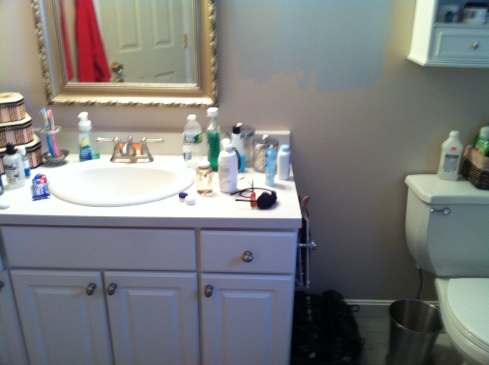
I am so excited to share with you all our new bathroom. This transformation has been months in the making but I can finally say with confidence we are 98% complete! Since moving into our house last summer we have only made some minor changes, a little paint here, some new trim there. The bathroom was our first project, it had an old vanity that seemed so small and short! I hate having to bend over just to brush my teeth. The wall color was a purple grey, which I was not crazy about. This was just a basic renovation, we painted and installed a new vanity but it makes a world of difference! Check out the before and after pictures.

BEFORE:

bathroom 1

I had a hard time picking a true grey, as you can see from the different samples on the wall. I ended up with Stonington Grey by Benjamin Moore. Remy my cat is supervising the renovation process.

bathroom 2bathroom 4

AFTER:

bathroom 5

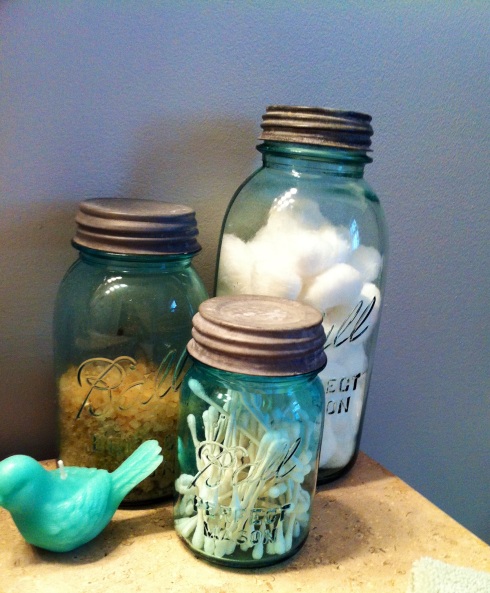
The accent color is teal, I tried to add in hints of the color where I could. These teal mason jars were an excellent thrift store find and perfect for storing bathroom essentials.

bathroom 8

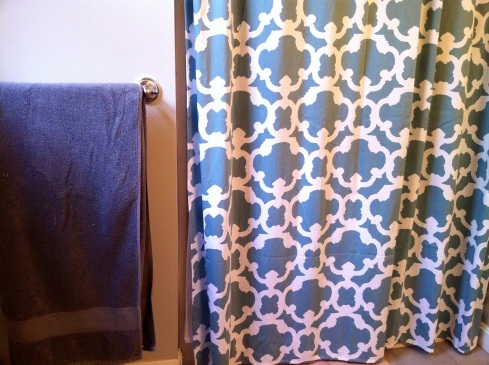
Target shower curtain, I mean how could I pass up that pattern!

bathroom 7

Some teal prints of Etsy and $1.99 ikea frames make the perfect wall decor.
bathroom 6

The vanity is from Lowes and comes in different pieces which is perfect for anyone who wants to customize their cabinets. I love seeing peoples home renovation projects, anyone else in the middle of one?

Furniture Makeover

3 Oct

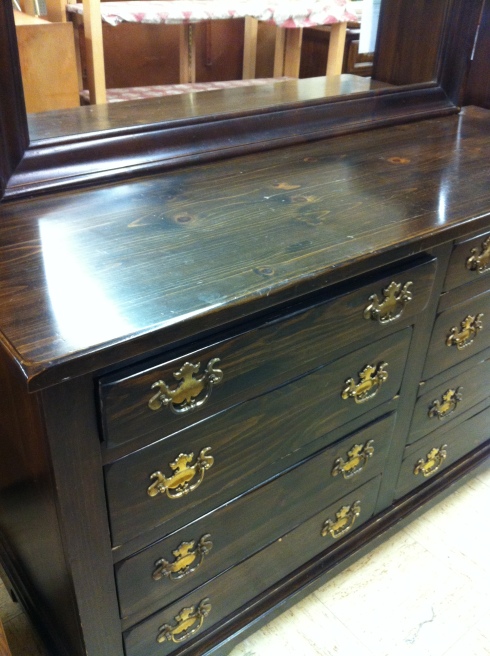
So, awhile back I went to our local Restore just to check things out and see what it’s all about. Low and behold I found something interesting, two matching dressers!

My apologies for the low quality photos they were quick shots from my phone. Anyway, both of these together cost $150 and they were in great condition. The gold and the dark brown had to go though. First things first was removing the hardware and stripping the wood.

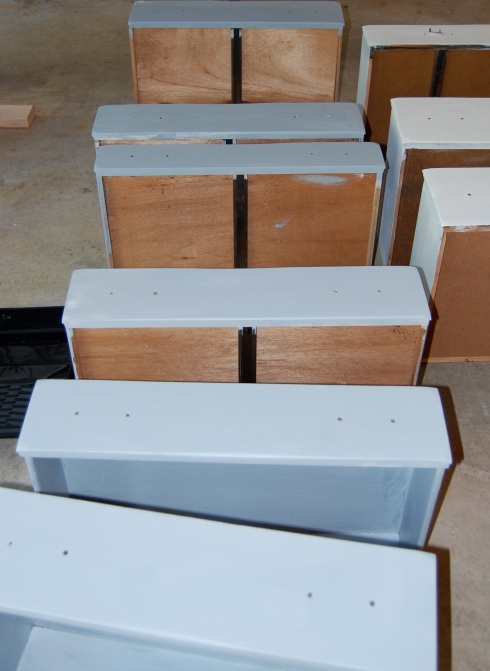
We then used the strong primer Kilz to try and cover up the knots. After that had dried we used a grey based primer.  We had planned to distress these and I wanted a dark grey to show through. I loved the color and I was tempted to keep the dressers grey.

Next onto the last coat of paint.  I picked Linen White from Benjamin Moore for the final color.

Onto the distressing. Now, this is my first time redoing furniture so this part was really trial and error. I used 120-grain sand paper. I sanded mostly where the wood would weather naturally like on the corners and around the handles where fingers would wear away the paint. We then added the new hardware from Lowes. Here is how they turned out.

Dining Room Makeover

24 Sep

Before we even moved I knew I wanted to put up wainscoting in our new dining room. Of course, after moving our budget was a bit tighter so I searched for a way to achieve the same look for less. I was beyond excited when I found this tutorial for creating your own wainscoting. As you know I am horrible at before pictures.  I have posted the few I took when we were looking at the house so it’s decorated how the previous owners had it.

What we used:

(14) 1/4″ x 4″ x 3′ poplar boards
(10) 1/4 x 3″ x 3′ poplar boards

Prepainted chair rail

Kilz primer

Semi-gloss white Paint

First, we measured how high we wanted the wainscoting to go, and then I painted the top half of the walls Nantucket Fog from Benjamin Moore. We did things a little differently than the tutorial.  We hung the chair rail first and then the 1/4 x 3″ x 3′ underneath, horizontally.

Then we cut the 1/4″ x 4″ x 3′ poplar boards to fit vertically.

We spaced the boards 16 inches apart, center on center. Next came painting.  I primed the boards first since we ran out of poplar and had to use oak boards and the oak knots are a lot darker then the poplar. The knots can bleed through the paint so we used Kilz primer to cover them up.  A piece of advice use all poplar even if you have to wait for it as the oak, if its warped, cannot be nailed flush to the walls unless each board lands on a wall stud.  Some of the oak boards we used were warped so we used a white caulk to fill in the gaps which worked well and they now all look flush with the drywall.

Here is the final product.

I am so excited how this turned out! I now want to do the whole foyer as well!