Tag Archives: Home Decor

Apothecary Obsession

21 May

I am always on the hunt for an old apothecary table, I finally found a totally awesome one this weekend in Newport! Of course as luck would have it I drive a small car and had three other passengers.

apothocary

It was a really hard to walk away from this unique piece! I know persistence is key and if I keep on searching I will find one that I can actually bring home and love forever! In the mean time I can admire other bloggers functional apothecary finds.

Until next time!

LaurenSig

Anticipating Spring

5 Mar

So who is sick of Winter?! I certainly am! Seems about right though, once March rolls around and Spring is almost near I start to go a little crazy with anticipation for warmer days. In a desperate hope to hurry Spring along I put together a new welcome wreath for our front door. I started by looking for some inspiration via pinterest, because really if you need inspiration pinterest is the mecca for great ideas! A wreath by Too Much Time On My Hands caught my eye. It had all the flowers made from paper book pages, genius! Click Here to see the step by step instructions I followed.

Back when we first moved into our house last June I had constructed a wreath with our new house numbers on it. Click Here to see the old wreath and instructions on how I made our house numbers. I reused these numbers for my new wreath.

Here is my new wreath! I love it, I feel as if I am welcoming spring into my home, Go away snow!!! 🙂

wreath flowers wreath spring 2

LaurenSig

Ballard Burlap Pin Board DIY

22 Jan

For months I have been eyeing this burlap bulletin board from Ballard Designs. I find that site so addicting! Everything on there is just my style, the prices however sometimes not so much. The burlap bulletin board starts at $89 and only goes up from there. After deciding I really wanted one a familiar thought crossed my mind…”I could totally make that!” Sometimes with these DIY you have to weigh the cost of the item and if it’s worth your time and trouble to make it yourself. This particular DIY is so easy and totally worth saving the $89 you were going to spend!  For reference here is the Ballard burlap board.

97601516896737526_wnk8EOas_c

So pretty, aren’t they?!

Ok what you will need:

  • Cork Board
  • Large piece of burlap
  • Scissors
  • Glue Gun
  • Furniture Nails

DSC_1143I then cut the burlap to be just a little larger than my board.

DSC_1144Then it’s as simple as folding the ends over and gluing. The burlap adheres to the wood really well, I thought I would have to hold it in place so it would stick better, but as it turned out that wasn’t necessary.

DSC_1145

Then just flip the board over and insert the furniture nails. I used black nails and spaced them three inches apart from one another.

DSC_1150 DSC_1178

It’s that easy, totally worth it! This board is so versatile it could be used as an inspiration board, wedding decor, party decor, a place to hang kids art work, really the options are endless.


Reflective Dirftwood

13 Aug

It’s all about the driftwood.  Who would have thought that water-beaten logs could be turned into decorations?  My sister-in-law had an idea of making a driftwood mirror and I thought, “Hey, I live along the water. I can get all the free driftwood I want!”  Our downstairs bathroom mirror was the perfect candidate as it was completely plain and terribly ugly. So I gathered the driftwood I collected and introduced it my mirror.  “Hello mirror!”

I laid out the driftwood to get an idea of how the pieces were going to fit.  It was kind of like a seaside puzzle. That’s our dog Dash’s paw in the photo. She was oggling the drftwood, as she really wanted to chew on a piece of it.

Since the mirror was hard to hang, as the mirror hangers would interfere with the driftwood placement, I hung it before gluing the drfitwood on. That, of course, made it a little more difficult to glue the wood on.  So I would glue a piece and then use painters tape to hold it in place.  It worked like a charm!

And here is the final result.  What do you think??

Welcome Home

17 Jun

For some of you that have been with me since the begining you might be starting to wonder why I only talk about throwing parties but never actually throw one of my own. I promise you, I am not all talk, I am simply homeless! My husband and I have been in transition for about four months. I am happy to report that the end is near, in two weeks we close on our new house! I then guarantee we will have a huge summer party full of lots of DIY party ideas.

In the meantime, I have been getting antsy (I am sure my in-laws are getting antsy for us to leave as well:) ). I decided today I would make a wreath for our new door. It has our new house number on it which I think adds a personal touch. Here is the step- by-step guide on how to recreate it.

Materials needed: For the wreath and embellishments I used all natural materials.  I like the look of the dried lavender and pussy willows with the twig wreaths. Anything will work though.  Get creative!  You also need wooden numbers, paint, green wire, and a glue gun.

Step 1. Simply start by sliding the embellishments into the wreath, filling in however you like.

Step 2. Once you have the wreath filled in the way you like, flip it over and wire-wrap all the stems so that they are secure.

Here is what it should look like without the numbers.

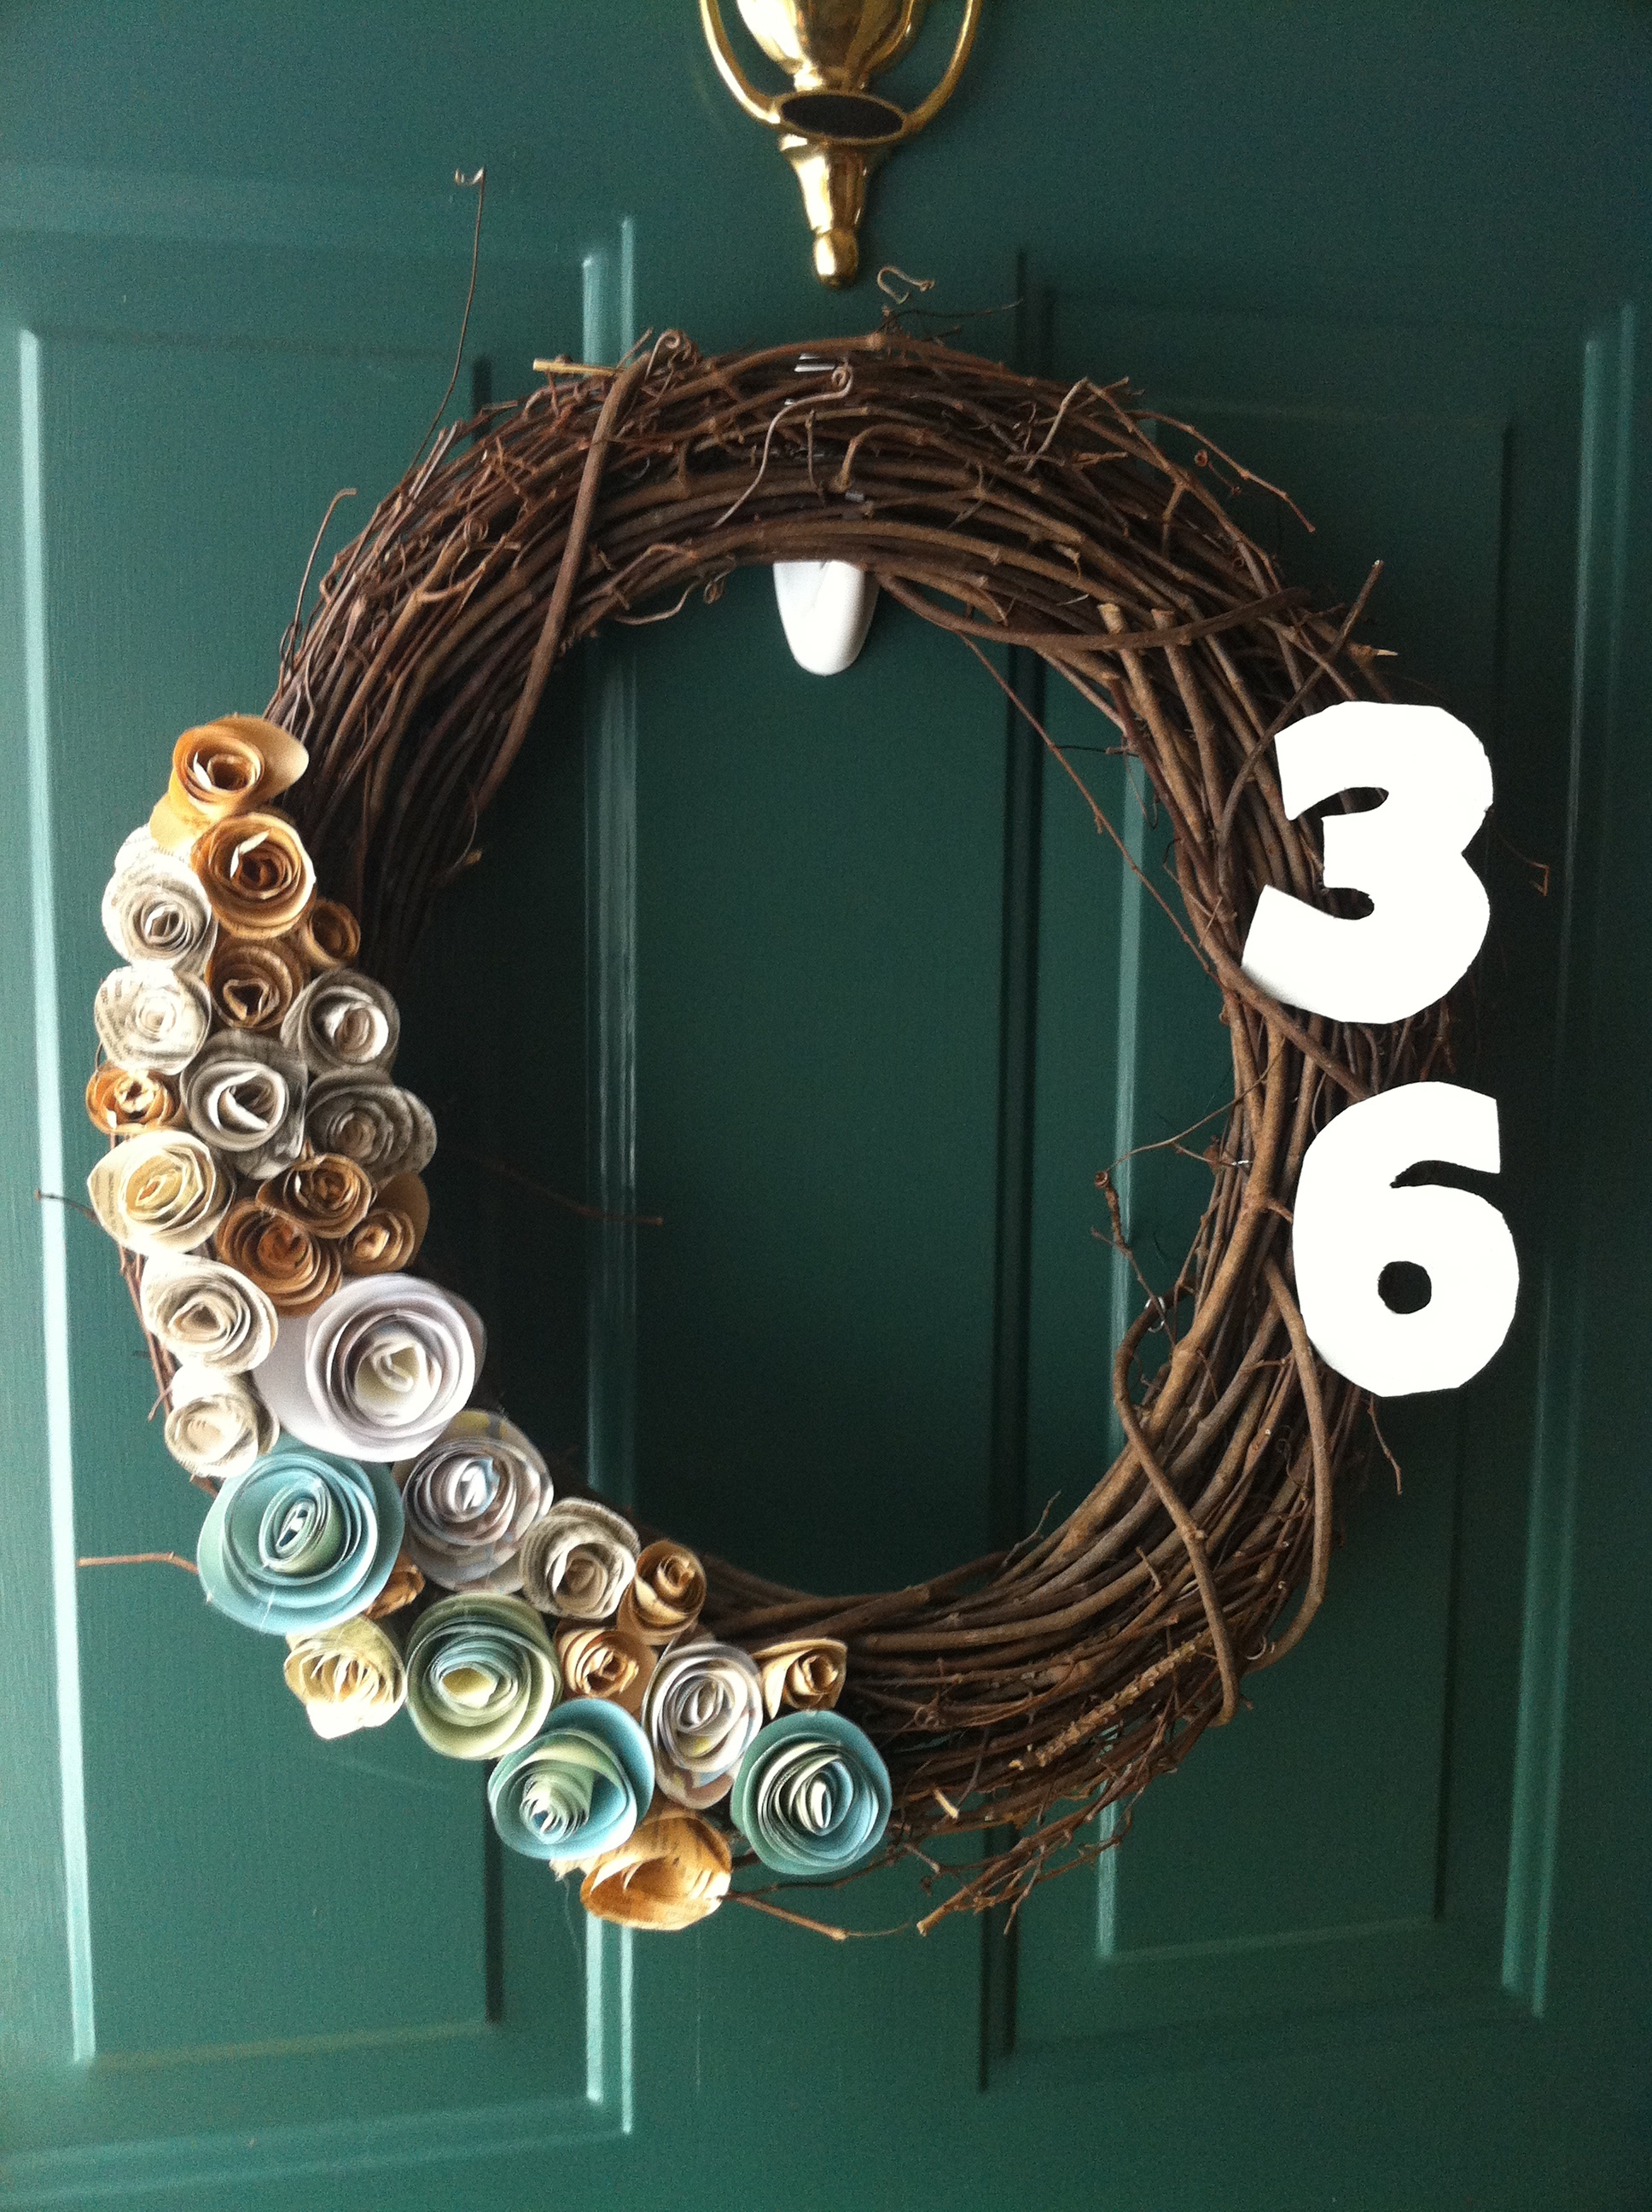
Step 3. Apply the wood numbers. My craft store did not have any wooden numbers that would fit my wreath so I bought a sheet of thin wood and traced the numbers onto it. I then took an exacto blade and cut the numbers out.

Step 4. Paint the numbers

Step 5. Hot-glue green wire onto the back of the numbers.

Step 6. Add the numbers to the wreath!